Cartridge replacement
The core repair for drips, temperature drift and stiff handles. Brand-specific part, usually done through the trim in under an hour once the right cartridge is identified.
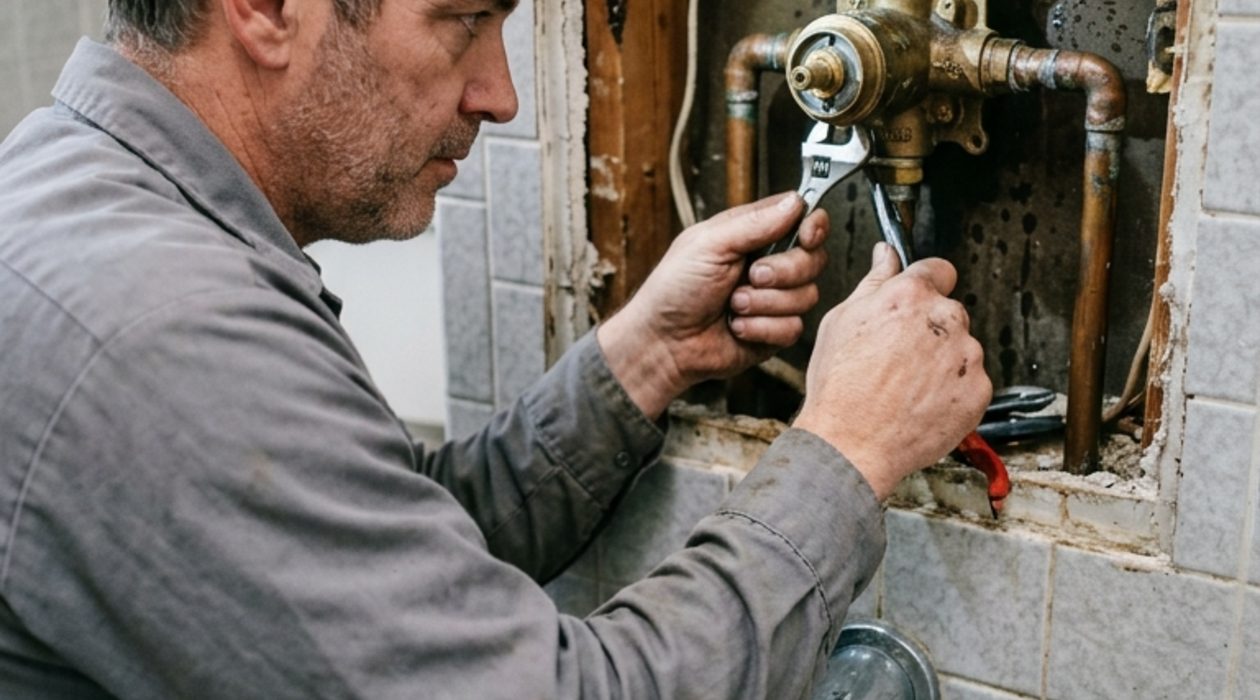
Most shower valve work is done through the trim plate, not through your tile. When access really is needed, we tell you exactly where and why before anything gets cut.
(970) 973-0235Everything else in a house leaks into a room. A shower leaks into a wall, a floor cavity, or a ceiling below, and it does it behind waterproof tile that hides the evidence for months. By the time a brown ring appears on the ceiling under a second-floor bathroom, water has usually been finding the same joist for an entire season.
That changes the priority. With a dripping kitchen faucet, the calculation is convenience and water cost. With a shower, the calculation is subfloor rot, mold in an unventilated cavity, and in the worst cases a ceiling that has to come down. It is the leak most worth chasing early even when the visible symptom is trivial.
The other thing shower plumbing has that no other fixture does is scald risk. A valve that has lost its temperature limit stop, or a pressure-balancing spool that has seized, can deliver a sudden burst of hot water when a toilet flushes elsewhere in the house. On an old two-handle valve there is no protection at all. In a home with young children or older adults, that is a safety fix, not a comfort upgrade.
So we look at three things on any shower call: where the water is actually going, whether the valve is still protecting anyone, and how much of your tile we can leave alone.
Stains on a ceiling below a bathroom are worth a same-week look.
A two-handle compression valve: separate hot and cold, no mixing control, is common in Greeley homes built before the mid-eighties. Each side has its own stem, washer and seat, and the repair is the same as an old faucet. These offer no scald protection whatsoever, which is why code has moved on from them.
A pressure-balancing valve is the modern single-handle standard. Inside is a spool or piston that senses a pressure drop on one side and throttles the other to match, so a flushed toilet does not turn the shower scalding. It does not hold a set temperature: it holds a ratio, and when it drips or the temperature wanders, the cartridge is the part.
A thermostatic valve uses a wax element to hold an actual target temperature regardless of pressure or supply changes, and is usually paired with a separate volume control. These are the nicest to live with and the most expensive to repair, though the cartridge is still a serviceable part rather than a rebuild of the whole valve.
Almost all repair work on all three happens through the trim plate from the front. Only a failed valve body, a leaking sweat joint or a cracked riser needs the wall opened, and even then the access can usually go in the closet or hallway behind the shower rather than in your tile.
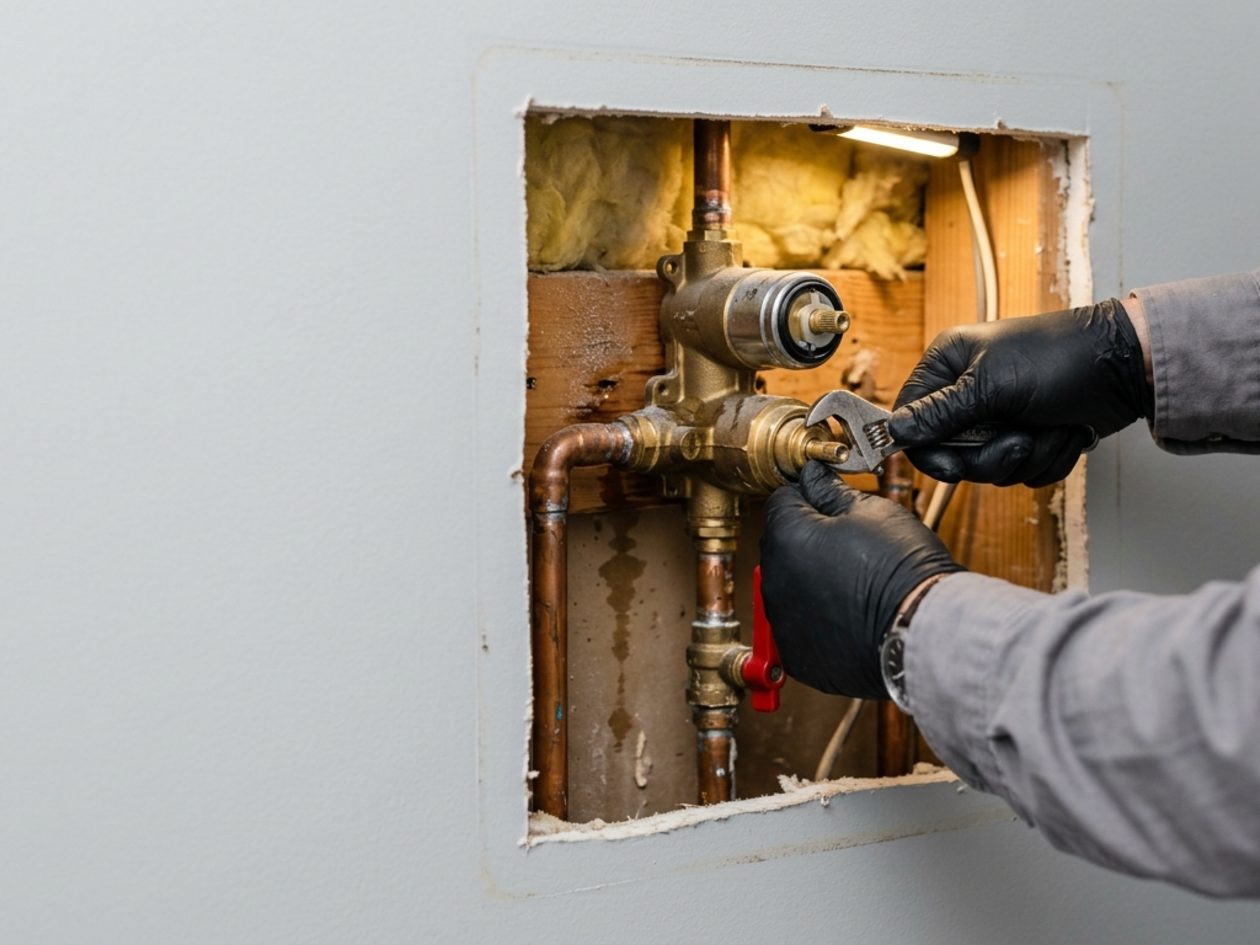 Through the trim plateCartridge, seals, seats and limit stops all come out the front. Tile stays where it is.
Shower head drips after the water is shut off. If it stops within a minute or two, that is just the riser draining and is entirely normal. If it continues for hours, the valve cartridge is not sealing and needs replacing.
Tub spout dribbles while the shower runs. The diverter inside the spout has worn. On a pull-up-knob spout the whole spout is the repair, the diverter is not separately serviceable. On a three-handle system it is the middle diverter valve stem.
Temperature swings when a toilet flushes. The pressure-balancing spool has seized with mineral scale. A new cartridge restores it. On an old two-handle valve there is nothing to fix, and the honest answer is a valve replacement.
Water stains on the ceiling below. Could be the valve body, a supply joint, the tub drain shoe, the overflow gasket, or failed grout letting water past the tile entirely. These are genuinely different repairs, and guessing between them is how people end up with an opened ceiling and the leak still running.
Weak or uneven spray. Nearly always mineral build-up in the shower head, which soaks out. If a clean head does not fix it, the cartridge screens or the valve inlets are scaled.
We test each suspect separately rather than opening a ceiling on a guess.
Five possible sources Valve, supply joint, drain shoe, overflow gasket or failed grout. We isolate before opening anything.
The core repair for drips, temperature drift and stiff handles. Brand-specific part, usually done through the trim in under an hour once the right cartridge is identified.
A dribbling spout during shower use wastes hot water continuously. Slip-fit and threaded spouts install differently and using the wrong one cracks the nipple.
For cracked, corroded or obsolete valves with no parts available. Needs wall access, we place it behind the wall wherever the layout allows.
The shoe gasket and overflow plate gasket dry out and leak only when the tub is filled deep or when someone leans back. Classic intermittent ceiling stain.
Hair and soap bound in the trap and branch. Cleared mechanically, caustic chemicals sit against the trap and do more harm than good.
Setting the maximum temperature at the valve is a five-minute adjustment most homeowners do not know exists, and it matters in homes with children.
The question everyone asks first is whether their tile has to come off. The answer is usually no, and here is the order we work through.
First, everything reachable from the front. Cartridges, seats, springs, limit stops, escutcheons, shower arms, spouts and heads all come out through the trim opening. That covers the substantial majority of shower repairs.
Second, access from the other side. Shower valves sit in a wall that has a back to it: a closet, a hallway, a bedroom, occasionally a garage. A neat opening in painted drywall there is inexpensive to patch and invisible when it is done. When a valve body genuinely has to come out, this is almost always the route, and it is why we walk the adjacent rooms before quoting.
Third, from below. For tub drains, overflow gaskets and supply joints, an unfinished basement ceiling underneath gives full access with no repair needed at all.
Only when none of those work do we open tile, and then we say so plainly, agree the location first, and cut to grout lines wherever the layout allows so a patch has a chance of disappearing. If you have spare tile from the original installation, tell us, it changes what is possible.
One thing worth knowing before you renovate: fitting an access panel behind a shower valve during a remodel costs almost nothing and saves a great deal later.
We walk the adjacent rooms before quoting any wall work.
Shower components suffer more from our mineral content than almost anything else in the house, because they combine hot water, constant cycling, and small precision passages.
The shower head goes first and most visibly: nozzles crust over, the spray goes crooked, and pressure appears to drop. This is cosmetic and reversible: unscrew it, soak it overnight in white vinegar, clear the nozzles with a soft brush. Do this once a year and a head lasts indefinitely.
The cartridge is the expensive casualty. Scale builds on the sealing surfaces and inside the pressure-balancing spool, which is why a valve that once held temperature perfectly starts wandering after a few years. It is also why the same cartridge that lasts a decade in a soft-water city might give five or six years here.
The valve seats scale in the same way, and this is the reason a new cartridge sometimes drips within weeks: fresh rubber against a deposit-crusted seat cannot seal. A proper repair cleans or replaces the seats, not just the moving part.
Softened water genuinely extends all of this, and it is one of the more legitimate arguments for treatment in a home that is already replacing cartridges on a cycle. Whether it pays for itself depends on how much else in the house is being eaten at the same time.
Intermittent ceiling stains under a bathroom have one classic cause that catches out a lot of people, including some plumbers: the tub overflow gasket.
The overflow is the plate below the tub rim with the trip lever on it. Behind it sits a rubber gasket squeezed between the tub shell and the overflow elbow. Fill the tub to a normal depth and nothing touches it. Fill it deep, or have someone lean back so the water sloshes above the overflow, and water passes the tired gasket and runs straight into the joist bay.
That is why the leak seems random. Showers are fine. Shallow baths are fine. One long deep soak and the ceiling stains again three days later. Testing it properly means deliberately filling to the overflow and watching from below rather than running the shower and concluding all is well.
The other tub leak sources are the drain shoe gasket under the basin, which dries and shrinks, and the plumber’s putty at the drain flange inside the tub. Both are reachable from below in an unfinished basement, and both are inexpensive parts.
And if the tub drains slowly, the trip-lever linkage in the overflow tube is worth checking before anyone cables the line, a maladjusted plunger sits half-closed and mimics a blockage perfectly.
Only leaks when filled deep The reason so many ceiling stains under bathrooms look intermittent and random.
The cheapest moment to fix anything behind a shower wall is while the wall is open. New valve body, correct stem depth for the finished surface, an access panel on the back side, a properly sloped drain and a mixing valve that meets current code: all trivial now, all expensive later.
We are happy to look at rough-in before the board goes on, even when someone else is doing the tile.
The other fixture in the room, and often the source of a stain blamed on the shower.
See details →Vanity drips, seized shutoffs and slow pop-up drains.
See details →Non-destructive tracing when the water appears somewhere the fixture is not.
See details →For shower and tub drains blocked past the trap.
See details →When the temperature problem is upstream of the valve entirely.
See details →Treat the hardness that is scaling your cartridges and shower heads.
See details →Turnover repairs on valves that have been dripping for a year.
Area details →Original tub-shower units with valves no longer made.
Area details →Newer builds where access is through the wall of the next room.
Area details →Straight repairs on fixtures worth repairing rather than replacing.
Area details →Not on the list? We cover Greeley, Weld County and the northern Front Range, see every service area.
Usually not. Cartridges, seals, seats and limit stops all come out through the trim plate from the front. Only a failed valve body or a leaking joint needs the wall opened, and even then we look for access from the room behind the shower or from an unfinished basement below before we touch tile.
A minute or two of dripping is just the riser draining and is normal. Dripping that continues for hours means the valve cartridge is no longer sealing. It is a common repair, brand-specific in parts, and generally done in under an hour through the trim.
Either you have an old two-handle valve with no pressure-balancing at all, or you have a modern valve whose balancing spool has seized with mineral scale. The second is fixed with a new cartridge. The first has nothing to repair, the safe answer is a modern pressure-balancing or thermostatic valve.
Five realistic candidates: the valve body, a supply joint, the tub drain shoe, the overflow gasket, or water passing failed grout and caulk. We test each in turn: run the shower only, fill the tub deep, flood the drain, and watch from below. That sequence usually identifies it without opening anything.
Classic overflow gasket. The rubber seal behind the overflow plate has hardened, so water only reaches it when the tub is filled high or someone leans back and sloshes above it. It is an inexpensive part, reachable from below in most homes.
It is one of our shorter visits, and the part itself is modest for most mainstream brands. The variables are identifying the exact cartridge on an older or obsolete valve, and freeing a cartridge that has scaled into the body, that occasionally needs a puller and extra time. We quote once we know the valve.
Yes, and it is a worthwhile upgrade for the scald protection alone. It does require opening the wall, because the valve body itself is being replaced, and the two supply lines have to be brought to a single mixing valve. We will always try to take that access from the back side rather than the tile.
The diverter has worn. On a pull-up-knob spout the diverter is built into the spout and the whole spout is replaced: a quick, inexpensive job. On a three-handle setup it is the center diverter valve stem. Either way it is worth fixing, because a dribbling spout is a continuous loss of heated water.
Start with the head: unscrew it and soak it in white vinegar overnight to clear the mineral crust. If clean does not fix it, the next suspects are scaled cartridge screens, partially closed valve inlets, or a whole-house pressure problem. If every fixture in the house is weak, the issue is the regulator or the service line, not the shower.
The valve body, if it is decent brass and correctly installed, can last the life of the bathroom, thirty years or more. The cartridge inside is the consumable, and on Greeley water expect five to eight years. Budget for cartridges, not for valves, unless yours is a discontinued model with no parts available.
Tell us where the water shows up; that is most of the diagnosis.
Diagnosed properly, repaired through the smallest opening possible.
(970) 973-0235Answered 24 hours a day, seven days a week, every week of the year.